How to work with CARTO + Kepler.gl
Create Kepler.gl maps with CARTO data, share them and store them in CARTO
CARTO’s integration with Kepler.gl means that you can share and save your Kepler-created map to your CARTO Maps dashboard. You can re-open this saved map in Kepler to edit it.
Kepler also accepts CSV and GeoJSON files for you to use as map layers. It’s possible to export a dataset from your CARTO account in one of those formats, then import it to Kepler and create a map with it.
Here’s an example workflow:
Connect CARTO data to a Kepler map
- Log into your CARTO account.
- Click on the Data tab, and search for the title of the dataset you’d like to use in your Kepler map.
- Click on the appropriate search result to open your dataset.
- Click the Export button.
- Select either CSV or GeoJSON, then click Download.
- Visit https://kepler.gl/demo in another browser tab.
- In Kepler’s Add Data To Map popup, make sure you are on the Load Files tab.
- Drag & drop the file you just downloaded onto the dotted area.

Once the import has finished, a Kepler map will automatically be created from it. For more information about how to work with Kepler map layers see this documentation.
Save your Kepler map to CARTO
Kepler.gl is a client-side only application. That means when you create a Kepler map, the data you are working with is only stored temporarily in the browser as opposed to being saved for re-access. However, CARTO provides a way for you to save your Kepler map.
-
When you’re finished creating your map in Kepler.gl, click the Cloud Storage button, then click Save.

- In the next Save Map screen, enter a title and description for your map.
-
Click on the CARTO button.
If you are already logged into your CARTO account in another tab in the same browser, your map will automatically be saved to your CARTO Maps dashboard. In the Kepler interface, you will see the CARTO button display your CARTO account username and a Logout button.
-
If you are not already logged in, a popup will appear prompting you to log into your CARTO account. Log in.

-
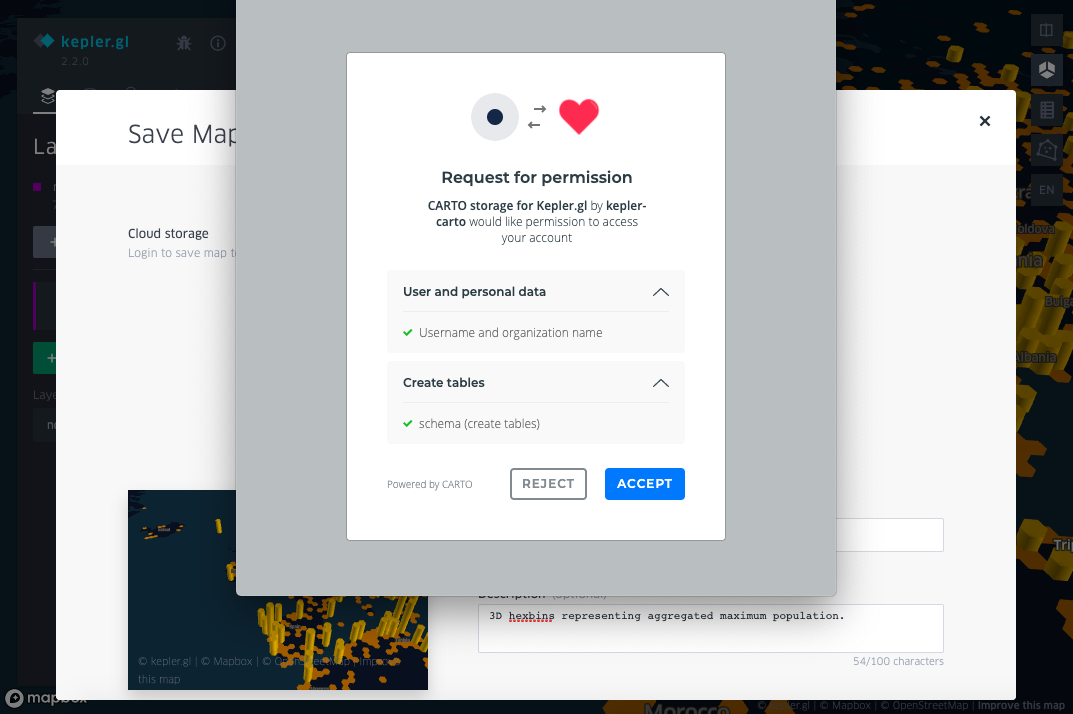
In the next screen make sure the permissions you want to allow are selected, then click Accept. You will only need to do this the first time you log into CARTO through Kepler.
In the Kepler interface, you will see the CARTO button display your CARTO account username and a Logout button.

- Scroll down Kepler’s Save Map screen and click Save.
- In that same screen find the Go to your Kepler.gl CARTO page link and click it. This will open your CARTO dashboard in another browser tab.
-
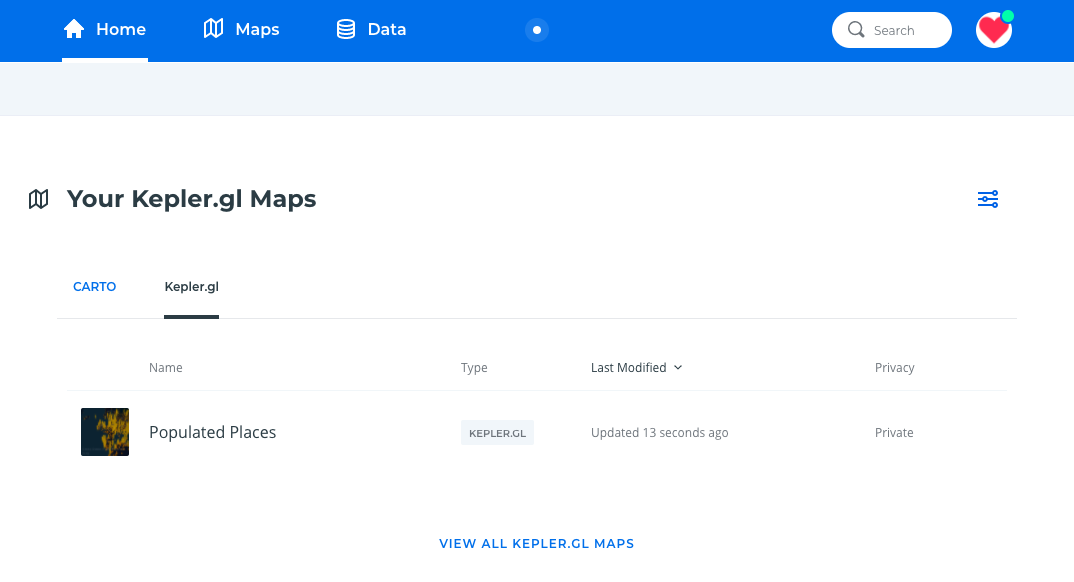
In your CARTO Home dashboard, scroll down to the Your CARTO Maps section and click the Kepler.gl tab to see where your map has been saved. Your map is automatically saved as a Private map.
Edit your map
If you click on a Kepler.gl map in your CARTO dashboard it will automatically open in Kepler. You can only make edits to the map there. To save the edited map, you can:
-
Click Kepler’s Cloud Storage button.

To save your edits as a new map in CARTO click Save As, then enter a new title and/or description and click Save.
To overwrite your existing map in CARTO click Save. In the next Overwrite Existing File? screen click Yes.
Share your map
In Kepler you can generate a link to share your map. As part of this process, you can automatically save that map in CARTO. It is saved in CARTO as a Public-With Link map, so only people that have the link will be able to see it.
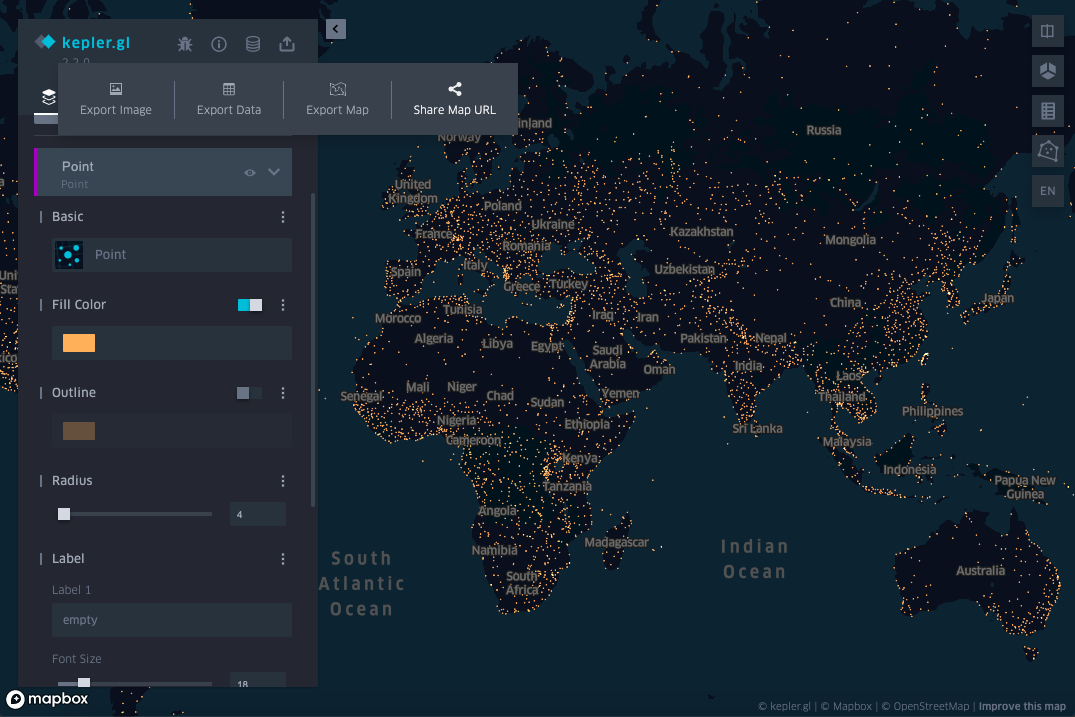
- With the map you want to share open in Kepler.gl, click Kepler’s Share button.
-
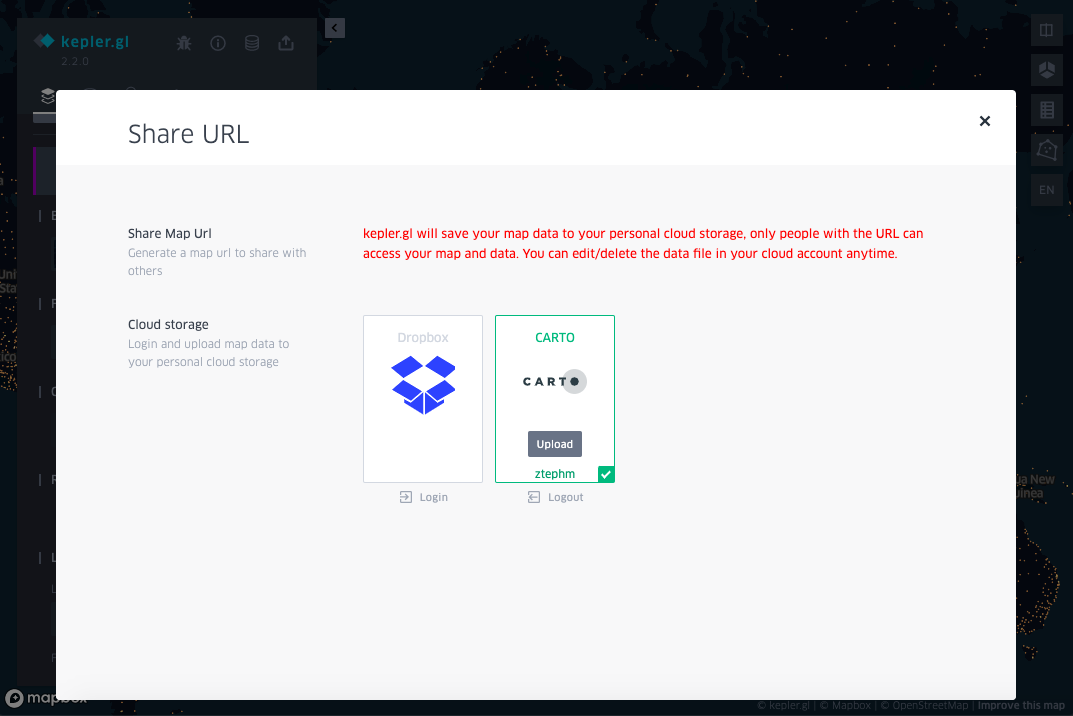
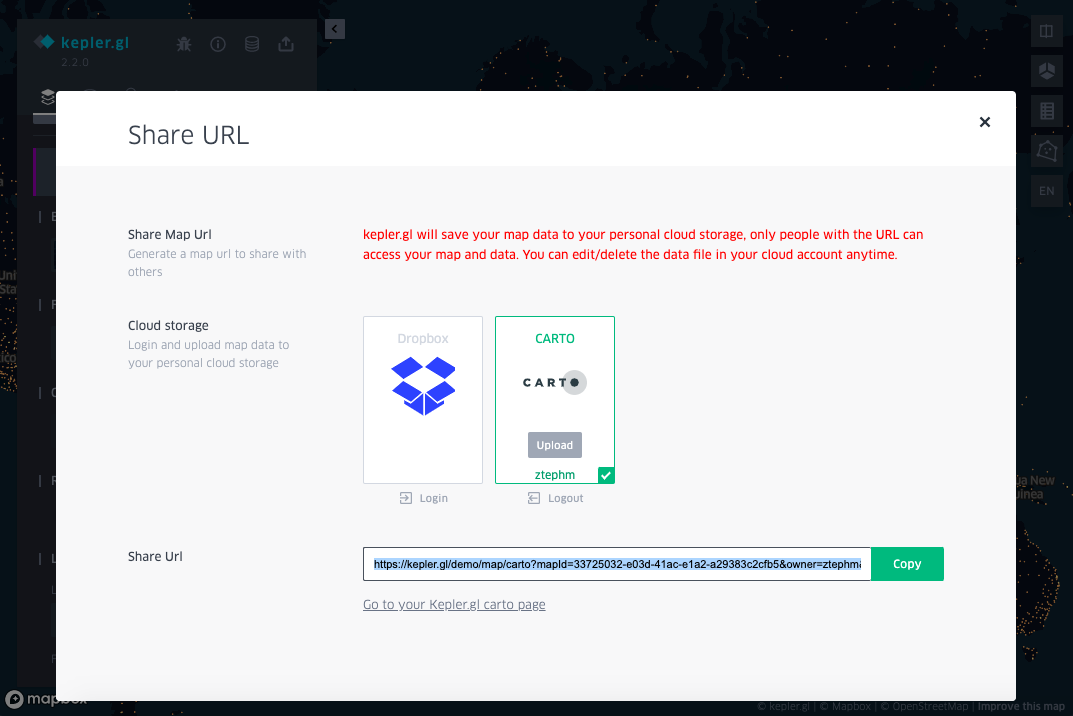
Select Share Map URL. If you are not already logged into your CARTO account in another browser tab, click the Login button beneath the CARTO thumbnail image and log into your CARTO account.
-
Click the Upload button that appears in the CARTO thumbnail image.
Once the map has finished uploading, a shareable url will appear in the Kepler interface. Anyone you give this url to will be able to paste it into a browser tab and view your map.
The map will also appear in your CARTO dashboard. This map’s privacy is automatically set to Public—with link.
Delete your map
When you don’t need your map any longer you can delete it this way:
- Log into your CARTO account.
-
In the Home dashboard, scroll down to the Your CARTO Maps section and click on the Kepler.gl tab.
Or, in the Maps dashboard, click on the Kepler.gl tab.
- Scroll over the map you’d like to delete. You will see three vertical dots appear.
-
Click on the three dots and select Delete.
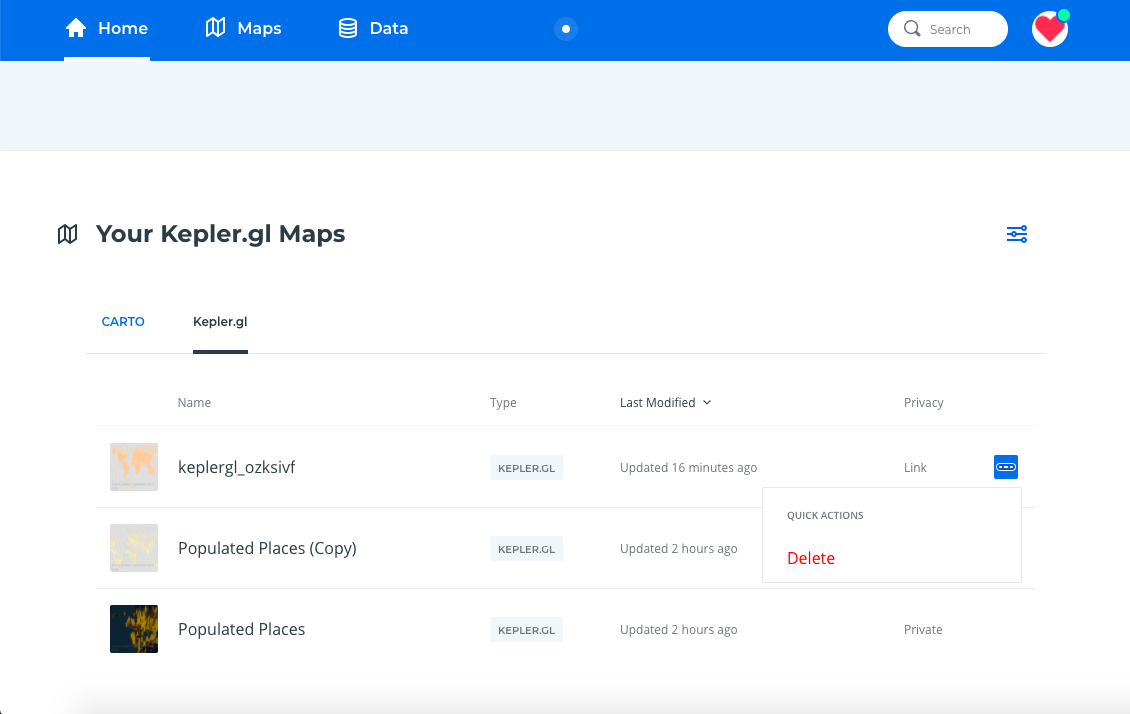

- Next click the OK, Delete button.
If you have shared this map via link, the link will no longer work.